

Guide rail model selection is only half of ride quality. Field acceptance data and installation guides from multiple rail suppliers converge on one point: most post-installation vibration traces back to joint geometry and bracket alignment, not the rail profile label on the packing list.
If your project involves cut-to-length export rails, understanding joint standards helps you specify packaging, inspection, and acceptance before containers leave the port. This guide covers joint tolerances, installation sequences, bracket alignment, export requirements, related component inspection, and long-term maintenance practices.
1. Why Rail Joints Determine Ride Quality
1.1 Joint Frequency and Impact
The car guide shoes ride across fishplate joints thousands of times per day. On a typical 20-story building with 1,000 daily trips, each joint is crossed approximately 40,000 times per month. A small step or gap at the joint transfers directly into:
- Mid-travel vibration or audible “click” at a specific floor height
- Accelerated guide shoe liner wear at the joint contact point
- Increased risk of shoe binding on high-speed units (> 2.5 m/s)
- Passenger complaints that are difficult to diagnose without height-mapping
For elevators above 2.5 m/s, alignment standards such as EN 81-20 commonly require guide alignment within 1.5 mm over any 5-meter section — a tolerance that is impossible to hold if individual joints are left loose or misaligned.
1.2 Joint vs. Rail Body Defects
| Defect type | Symptom pattern | Diagnostic method |
|---|---|---|
| Fishplate joint step/gap | Vibration at one specific height | Map noise to joint number |
| Rail straightness deviation | Vibration over a range of floors | Laser alignment survey |
| Bracket misalignment | Vibration at bracket locations | Plumb and spacing check |
| Guide shoe wear | Vibration increasing over months | Liner thickness measurement |
| Rail corrosion or scoring | Roughness at all heights | Visual and tactile inspection |
Correct diagnosis prevents unnecessary rail replacement when the actual problem is a single loose fishplate bolt.
2. Standard Joint Tolerances
2.1 Acceptance Criteria
Values below reflect widely published installation practices for T-profile machined rails (T75, T89, T127 families). Always follow project-specific drawings when they are stricter.
| Parameter | Typical acceptance | Measurement tool |
|---|---|---|
| Gap between rail heads at joint | < 0.15 mm | Feeler gauge |
| Step offset (vertical mismatch) | ≤ 0.10 mm | Straightedge + feeler gauge |
| Lateral offset | ≤ 0.10 mm | Straightedge across fishplate |
| Joint surface continuity | Straightedge flush across fishplate | 300–600 mm straightedge |
| Bracket spacing | 1,500–2,000 mm (per design) | Tape measure |
| M12 fishplate bolt — pre-torque | ~70 N·m | Calibrated torque wrench |
| M12 fishplate bolt — final torque | ~140 N·m | Calibrated torque wrench |
Bolt grade is typically 8.8 or 10.9 high-strength hardware. Re-torque after initial settlement (first 30 days of operation) is part of many OEM installation sequences.
2.2 Bracket Alignment Requirements
| Parameter | Acceptance | Notes |
|---|---|---|
| Vertical deviation per bracket | ≤ 0.5 mm | Plumb line or laser |
| Center distance (car rails) | Per drawing ± 2 mm | Measure at multiple heights |
| Rail parallelism | ≤ 1 mm over full travel | Laser alignment system |
| Bracket-to-shaft connection | Torque per structural design | Verify anchor bolts |
Bracket first, rail second — adjust bracket position before forcing rail into misalignment. Pulling misaligned steel into place with bolt force alone creates internal stress that manifests as vibration after the bolts settle.
3. Fishplate Hardware Specifications
3.1 Component Requirements
| Component | Specification | Notes |
|---|---|---|
| Fishplate (top clamp) | Matched to rail model | Profile must match rail foot geometry |
| Fishplate (bottom clamp) | Matched to rail model | Pair must be from same manufacturer batch |
| Bolts | M12 × grade 8.8 or 10.9 | High-strength required — never use standard grade |
| Washers | Spring washer or lock nut | Prevents loosening under vibration |
| Bracket clips | Per design spacing | 1,500–2,000 mm typical |
3.2 Common Hardware Failures
| Failure mode | Cause | Prevention |
|---|---|---|
| Bolt fatigue fracture | Reused bolts from previous installation | Replace all hardware at every joint |
| Thread stripping | Under-torqued or cross-threaded | Use calibrated wrench, clean threads |
| Fishplate cracking | Over-torqued or misaligned joint | Achieve alignment before final torque |
| Corrosion at joint | Untreated cut ends, humid shaft | Anti-rust treatment on all cut faces |
4. Cut-Length Export Projects
4.1 Beyond “Cut and Ship”
International rail orders often require:
| Requirement | Detail | Consequence if omitted |
|---|---|---|
| Cutting to floor heights | Match floor-to-floor + adjustment | Field cutting delays installation |
| End squareness | ≤ 0.5 mm from perpendicular | Joint step offset exceeds tolerance |
| Deburring | All cut edges smooth | Installer injury, shoe damage |
| Anti-rust treatment | Oil dip or primer on cut faces | Rapid corrosion in sea freight / humid shafts |
| Floor-level marking | Label each section with landing number | Installation confusion in multi-stop shafts |
| Top/bottom identification | Mark orientation | Inverted installation risk |
A rail that arrives with untreated cut ends or unmarked lengths slows installation and increases corrosion risk in humid shafts — particularly for sea freight export to tropical climates.
4.2 Packaging for Transit Protection
| Method | Application | Protection level |
|---|---|---|
| Wooden crate | Sea freight, > 4 week transit | Highest — prevents bending and impact |
| Steel strapping bundle | Short transit, domestic | Moderate — handle with care |
| Individual wrapping | Q8/Q9 premium grade rails | Prevents surface scratching |
Transit bowing from inadequate packaging creates straightness deviations that cannot be corrected at the fishplate joint — the entire affected section may need replacement.
5. Installation Sequence for Quality Results
5.1 Step-by-Step Procedure
Step 1: Set laser or plumb reference line in shaft
Step 2: Install lowest brackets — verify plumb and spacing
Step 3: Place first rail section — check vertical before fastening
Step 4: Install fishplate — verify gap and step BEFORE final bolt torque
Step 5: Add next rail section — repeat joint check at every connection
Step 6: Build upward section by section — never skip joint verification
Step 7: Survey full run with laser alignment system
Step 8: Document as-built alignment data
Step 9: Full-travel test at inspection speed — map any vibration to joint numbers
Step 10: Re-torque all fishplate bolts after 30-day settlement period
5.2 Critical Installation Rules
- Joint check before tightening final bolts — do not pull misaligned steel into place with bolt force alone
- Verify each fishplate before adding the next rail length — cumulative error is difficult to correct later
- Full-travel run after adjustment — vibration at a specific height maps to one joint number
- Never reuse fatigued fishplate bolts — always install new hardware at every joint
- Re-torque after settlement — bolts loosen during the first month of operation from vibration and thermal cycling
6. Link to Other Components
When rails are replaced or heavily reworked, experienced crews inspect simultaneously:
| Related part | Reason to inspect | Action threshold |
|---|---|---|
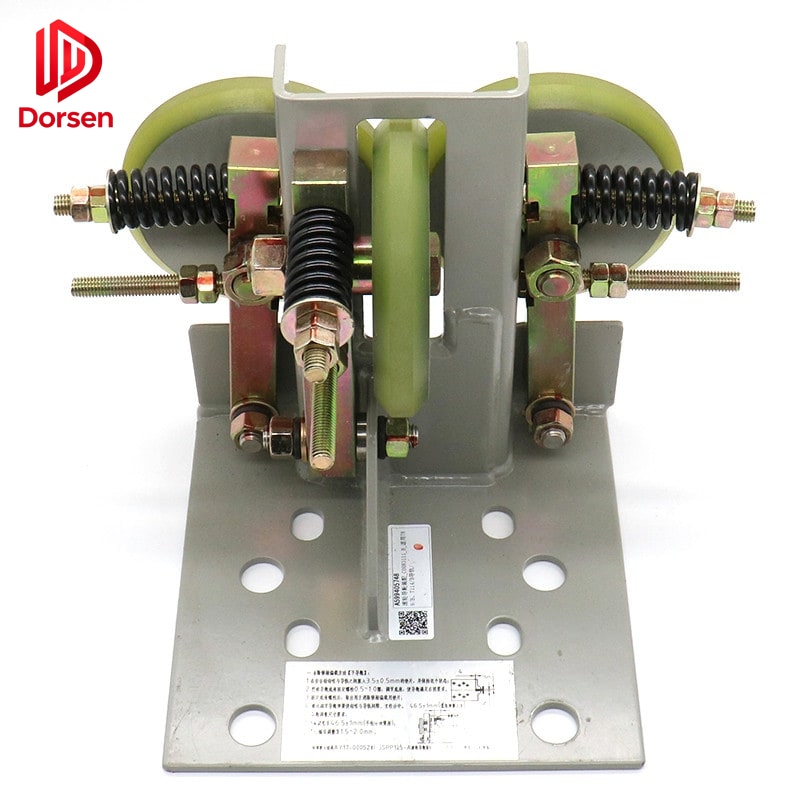
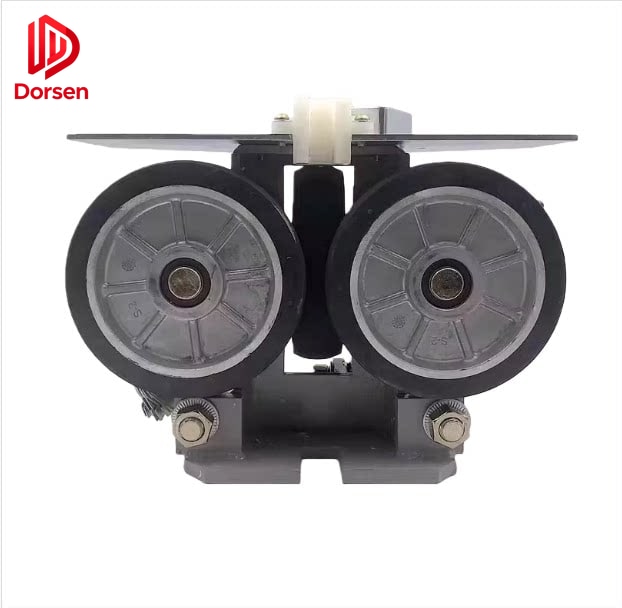
| Car guide shoes | Worn shoes mask or worsen perceived rail defects | Replace liners below ~3 mm |
| Safety gear jaw blocks | Rail profile must match rated jaw specification | Verify nameplate rail type |
| Counterweight guide shoes | Separate wear path, same vibration symptoms | Replace if worn |
| Fishplate hardware | Reuse of fatigued bolts is common joint failure source | New hardware at every joint |
| Bracket clips and anchors | Corrosion or deformation affects alignment | Replace if bent or corroded |
| Compensation chain | Unequal length affects car balance | Check for wear and equal length |
Replacing rails without addressing worn guide shoes produces a ride quality complaint that triggers warranty disputes — even when the new rails meet specification.
7. Maintenance After Handover
7.1 Scheduled Maintenance Tasks
Published maintenance surveys across commercial building portfolios suggest:
| Task | Frequency | Notes |
|---|---|---|
| Alignment verification | Annual on high-traffic units (>200 trips/day) | Every 24 months on low-duty freight |
| Fishplate bolt re-torque | When step noise appears or after seismic event | Use calibrated torque wrench at 140 N·m |
| Guide shoe liner replacement | When thickness falls below ~3 mm | Worn liners increase rail friction several times |
| Rail surface inspection | Annual | Check for scoring, corrosion, lubricant buildup |
| Bracket fastener check | Annual | Verify bracket-to-shaft connections |
| Joint gap re-measurement | After any vibration complaint | Feeler gauge at reported height |
7.2 Vibration Troubleshooting by Height Mapping
When a vibration complaint is received:
- Run car at inspection speed through full travel
- Note the exact floor or height where vibration occurs
- Calculate which fishplate joint corresponds to that height
- Inspect that joint — gap, step, bolt torque, fishplate condition
- Correct the joint before considering rail replacement
This diagnostic method resolves the majority of post-installation vibration complaints without replacing rail sections.
8. What to Send for a Rail Quote
Accurate procurement reduces cut errors and wrong fishplate kits:
| Information | Example | Why needed |
|---|---|---|
| Shaft dimensions | 2.1 m × 2.4 m, 45 m travel | Bracket and length calculation |
| Number of stops | 15 floors | Cut length per section |
| Existing rail model | T89/B machined | Profile and grade matching |
| Accuracy grade | Q2 or Q8 | Ride quality requirement |
| Total length per side | Car: 90 m, CWT: 85 m | Quantity calculation |
| Fishplate inclusion | Yes — M12 hardware kit | Avoid separate hardware order |
| Packaging requirement | Wooden crate, sea freight | Transit protection level |
| Destination port | Jebel Ali, UAE | Climate-appropriate anti-rust |
DORSEN supplies guide rails, fishplates, guide shoes, and bracket hardware with export-ready cutting and packaging options. Correct joint work at installation protects ride quality — and reduces warranty disputes months later.